SpringBoot入門 vol.8:DIを理解しよう
■DIとは
「Dependency Injection」の略で、日本語にすると「依存性の注入」とよく表されるがよく意味がわからないという方も多いのではないでしょうか?
この章ではDIについて詳しく解説していきたいと思います
■DIによって実現できること
特定のアノテーションを付与したクラスのインスタンスを「@Autowired」によって、他のクラスの変数や引数に代入して使用することができる
その他、「@Scope」によってインスタンスのライフサイクル(リクエストスコープ、セッションスコープ等)を管理しているが、まずは「@Autowired」を使えるようになろう
■DIのイメージ図
※イメージしやすいようにした図なので実際とは違います
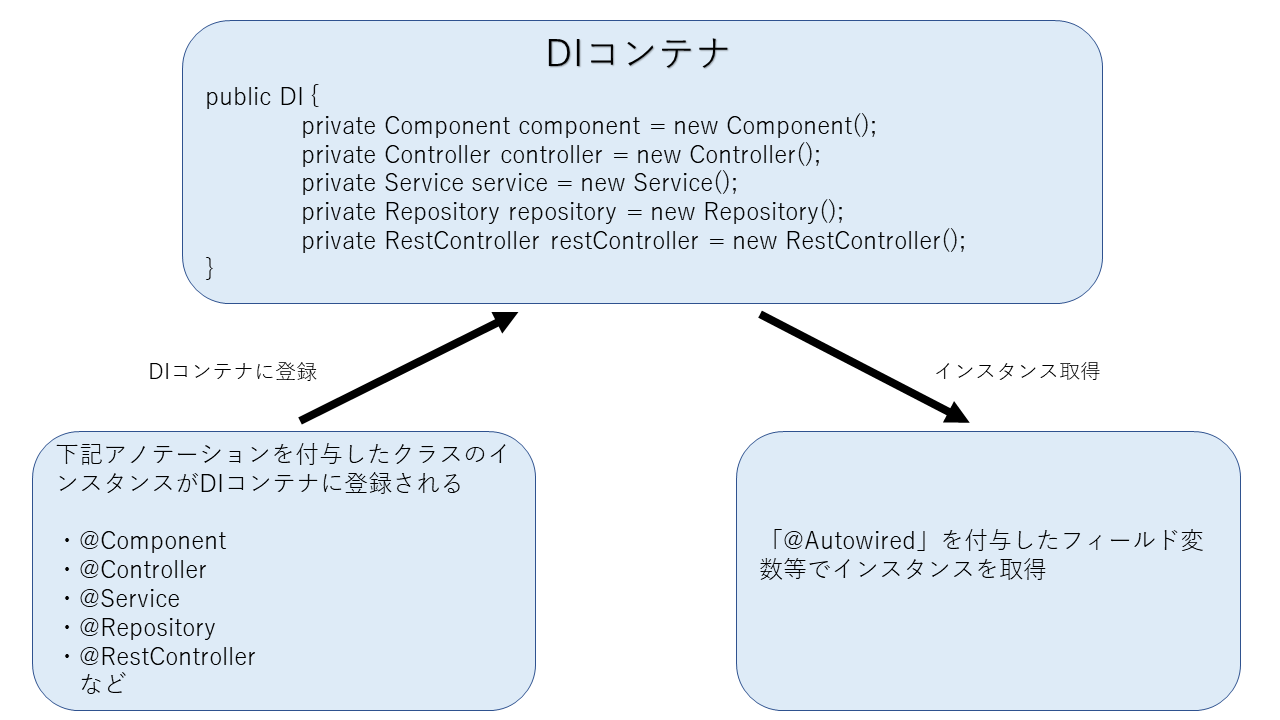
■DIの対象となるアノテーション
・@Component
・@Controller
・@Service
・@Repository
・@RestController
・@ControllAdvice
・@ManagedBean
・@Named
※特に赤太文字のアノテーションはよく使うので覚えておこう
■DIの使用例
「@Service」を付与したSampleServiceクラスを作成し、SampleControllerクラスで「@Autowierd」を付与してDIする
フォルダ構成
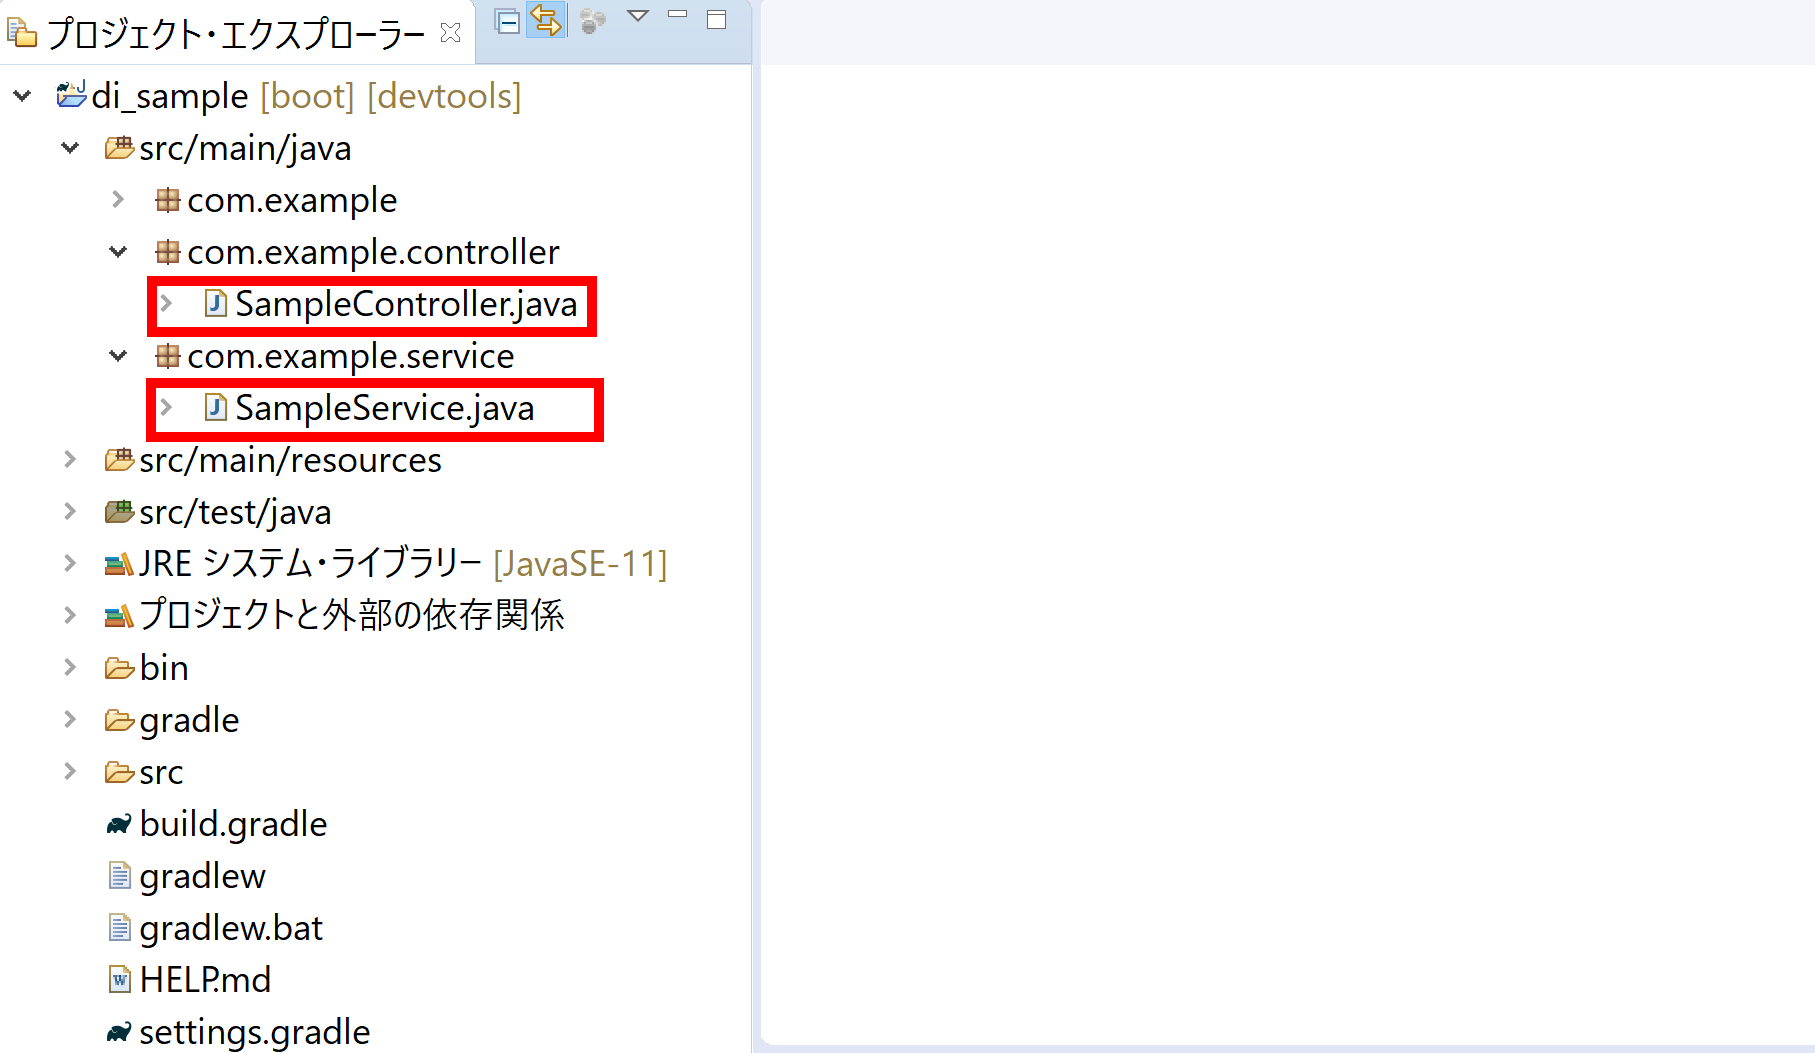
・SampleService.java
package com.example.service;

import org.springframework.stereotype.Service;

//ポイント①
@Service
public class SampleService {
    public String outputHello() {
        return "Hello";
    }
}
・SampleController.java
package com.example.controller;

import org.springframework.beans.factory.annotation.Autowired;
import org.springframework.web.bind.annotation.GetMapping;
import org.springframework.web.bind.annotation.RestController;

import com.example.service.SampleService;

//ポイント②
@RestController
public class SampleController {
    //ポイント③
    @Autowired
    SampleService sampleService;

    @GetMapping
    String getHello() {
        //ポイント④
        return sampleService.outputHello();
    }
}
【ポイント】
1.SampleServiceクラスに「@Service」を付与してDI対象のクラスに設定
「Hello」という文字列を返す「outputHello()メソッド」を作成しておく
2.SampleControllerクラスに「@RestController」を付与し、戻り値でテキストコンテンツを返すように設定
※「@Controller」を付与して、画面に表示させるHTMLファイルを作成しても良いが、今回はDIによってSampleServiceクラスのメソッドがSampleControllerクラスで使用できることを確かめるだけなので、「@RestController」を使用した
3.「@Autowired」により「SampleService」型の インスタンスを「sampleService」という変数に代入
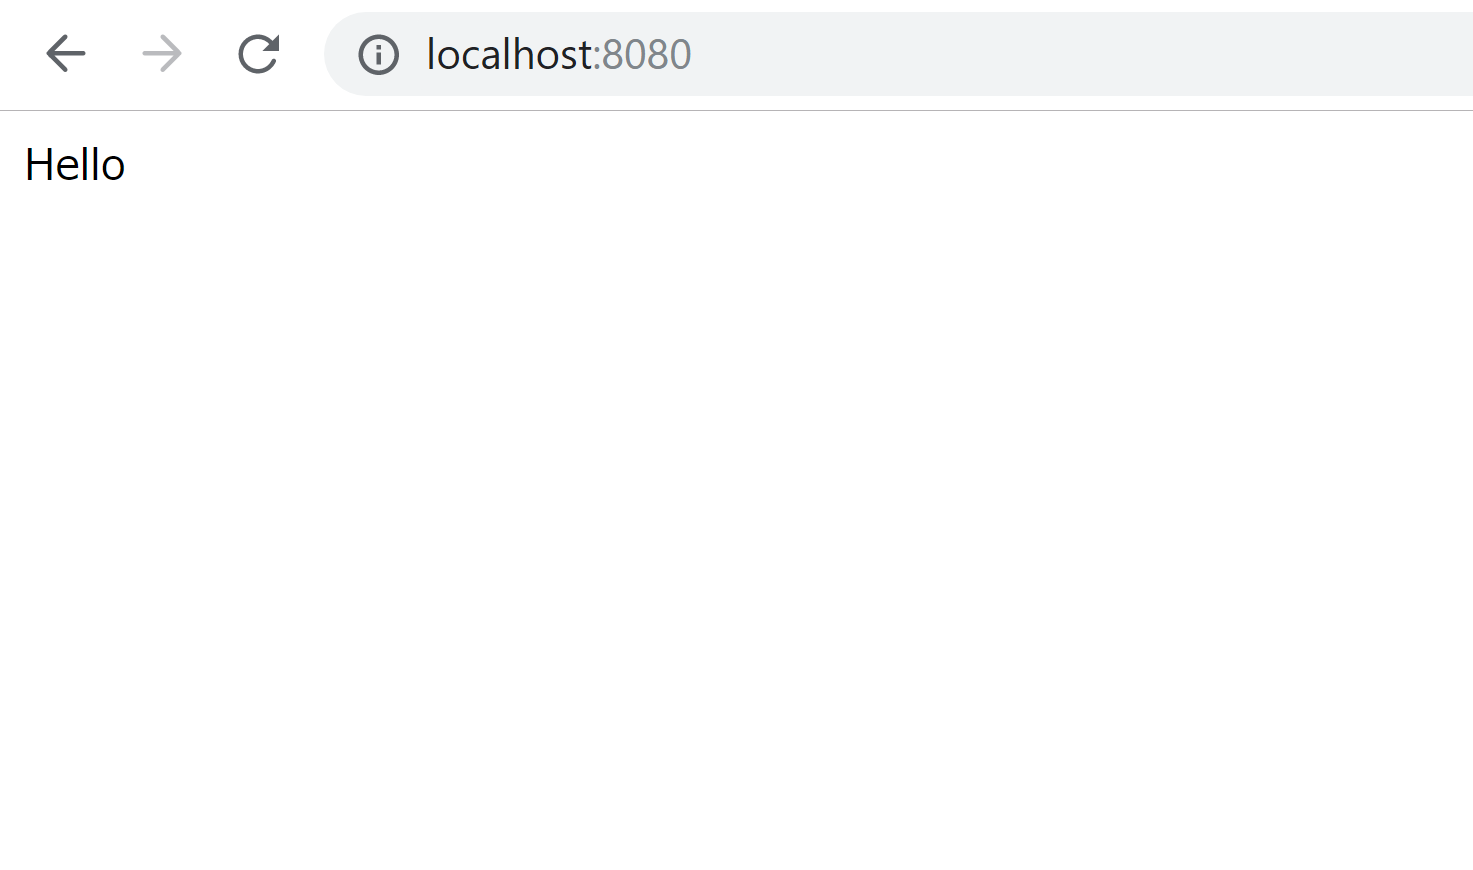
4.SampleServiceクラスの「outputHello()メソッド」を使用し、「localhost\:8080」でアクセスした際に、画面に戻り値「Hello」を表示させる
プロジェクトを起動させ、「localhost\:8080」にアクセスして「Hello」が表示されていることを確認