SpringBoot入門 vol.2:Hello Worldを表示しよう
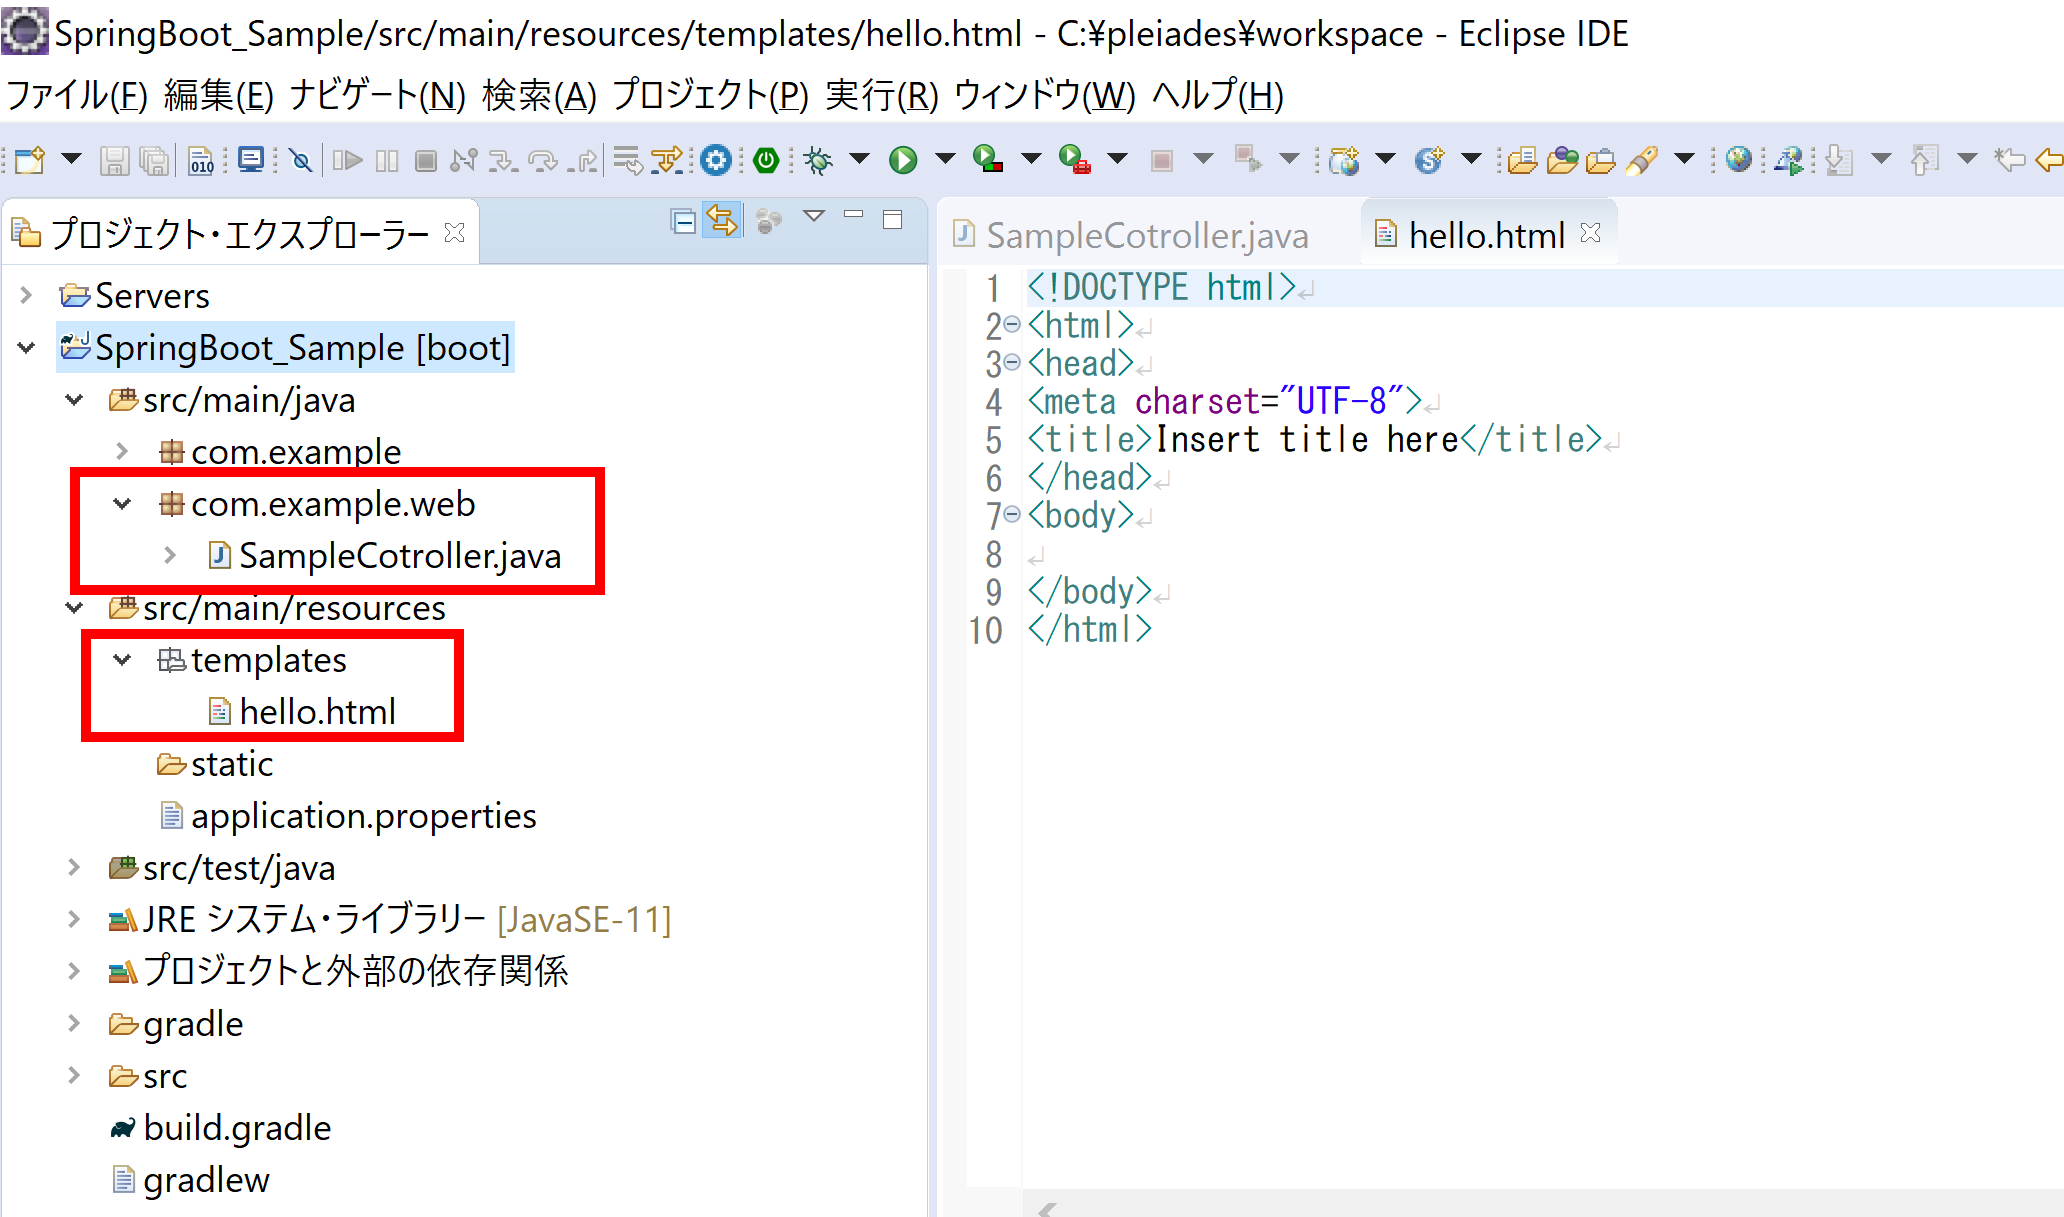
①下記2ファイルを作成する
・src\main\java\com\example\web\SampleCotroller.java
・src\main\resources\templates\hello.html
②SampleCotroller.javaに下記内容を記述
package com.example.web;

import org.springframework.stereotype.Controller;
import org.springframework.web.bind.annotation.GetMapping;

//ポイント1
@Controller
public class SampleCotroller {
    //ポイント2
    @GetMapping("/")
    String getHello() {
        //ポイント3
        return "hello";
    }
}
【ポイント】
1.「@Controller」を画面遷移の制御を行うクラスに付与する
2.HTTPリクエストのGETメソッドが呼ばれた時に「@GetMapping」が付与されたメソッドが実行される
※メソッド名は任意
3.「return」で返す値に遷移先のHTMLファイル名を指定する
※拡張子は含まない
③hello.htmlに下記内容を記述
<!DOCTYPE html>
<!-- ポイント1 -->
<html xmlns:th="http://thymeleaf.org">
<head>
<meta charset="UTF-8">
<title>Insert title here</title>
</head>
<body>
    <h1>Hello World</h1>
</body>
</html>
【ポイント】
1.「html」タグに下記を<html xmlns:th="http://thymeleaf.org">を記述し、「Thymeleaf」を使用できるようにする
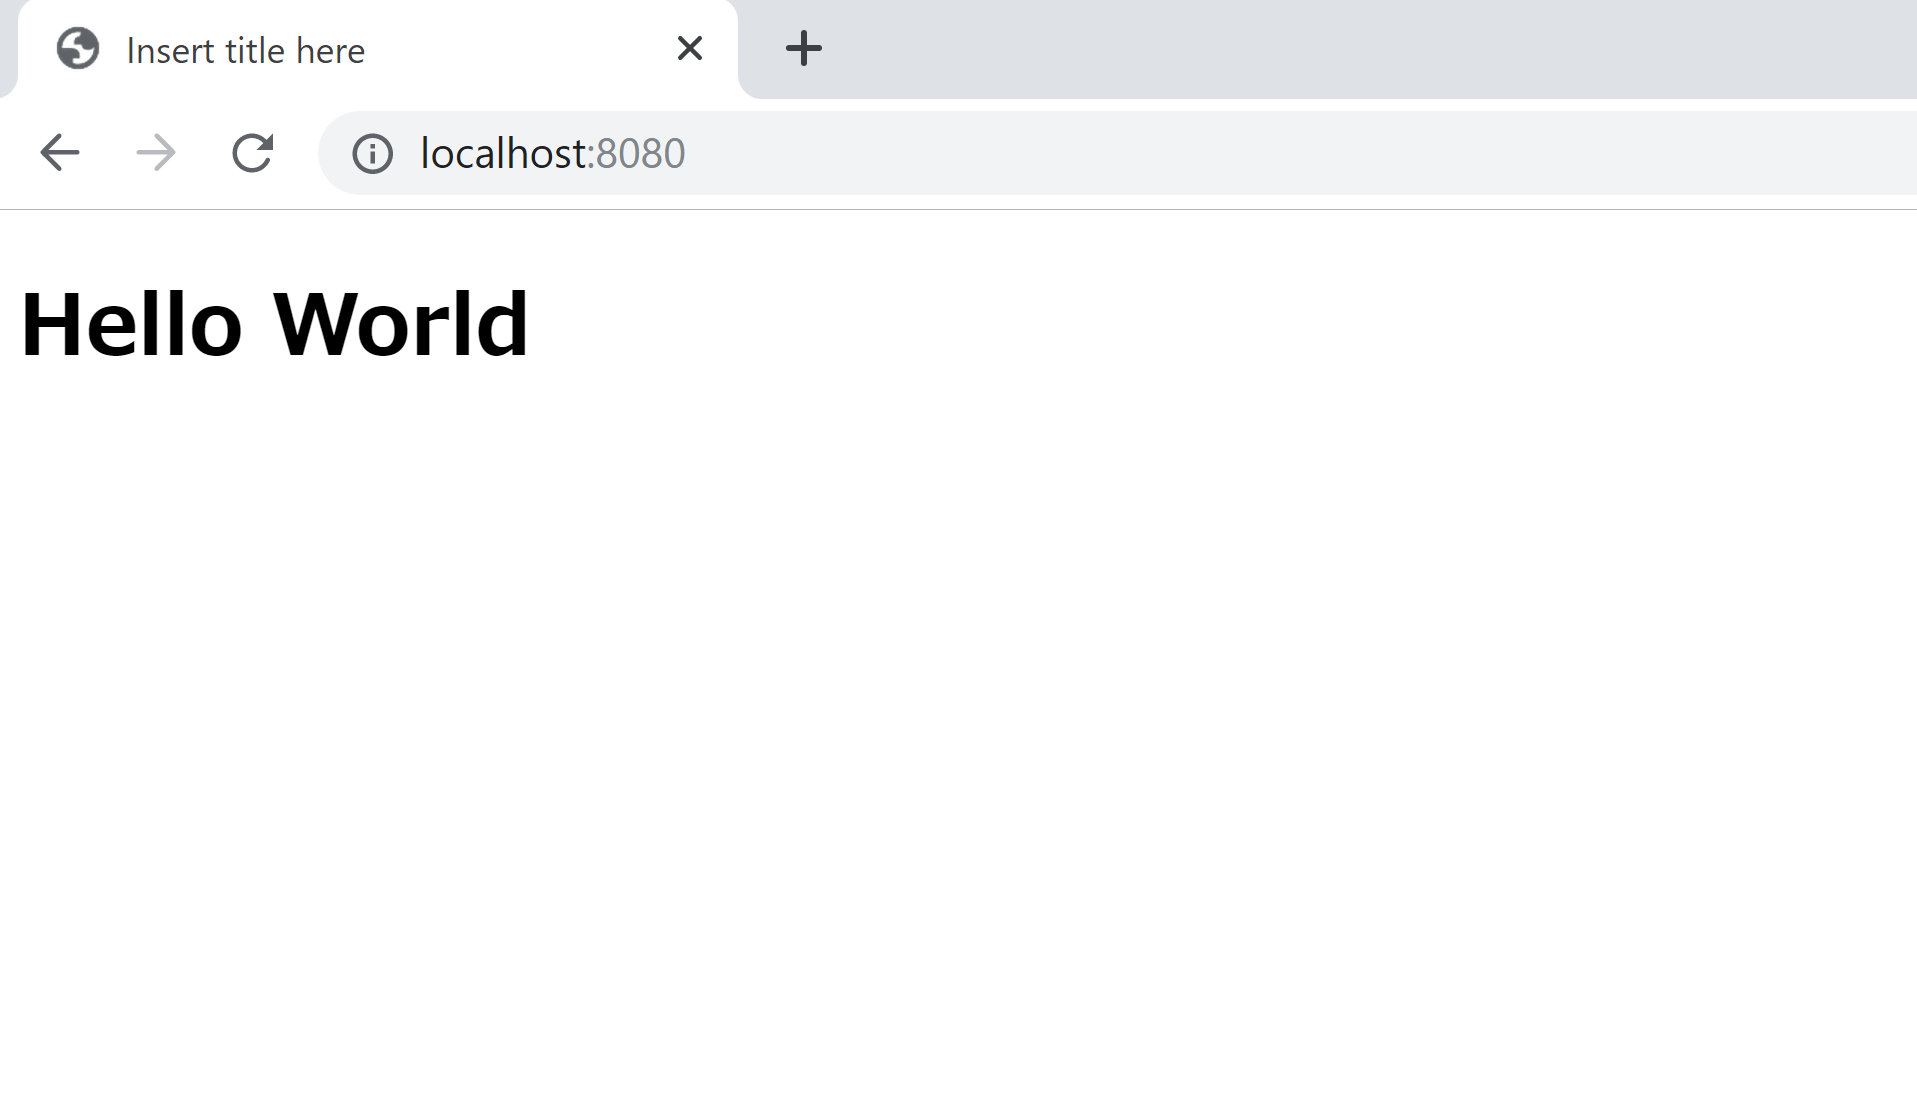
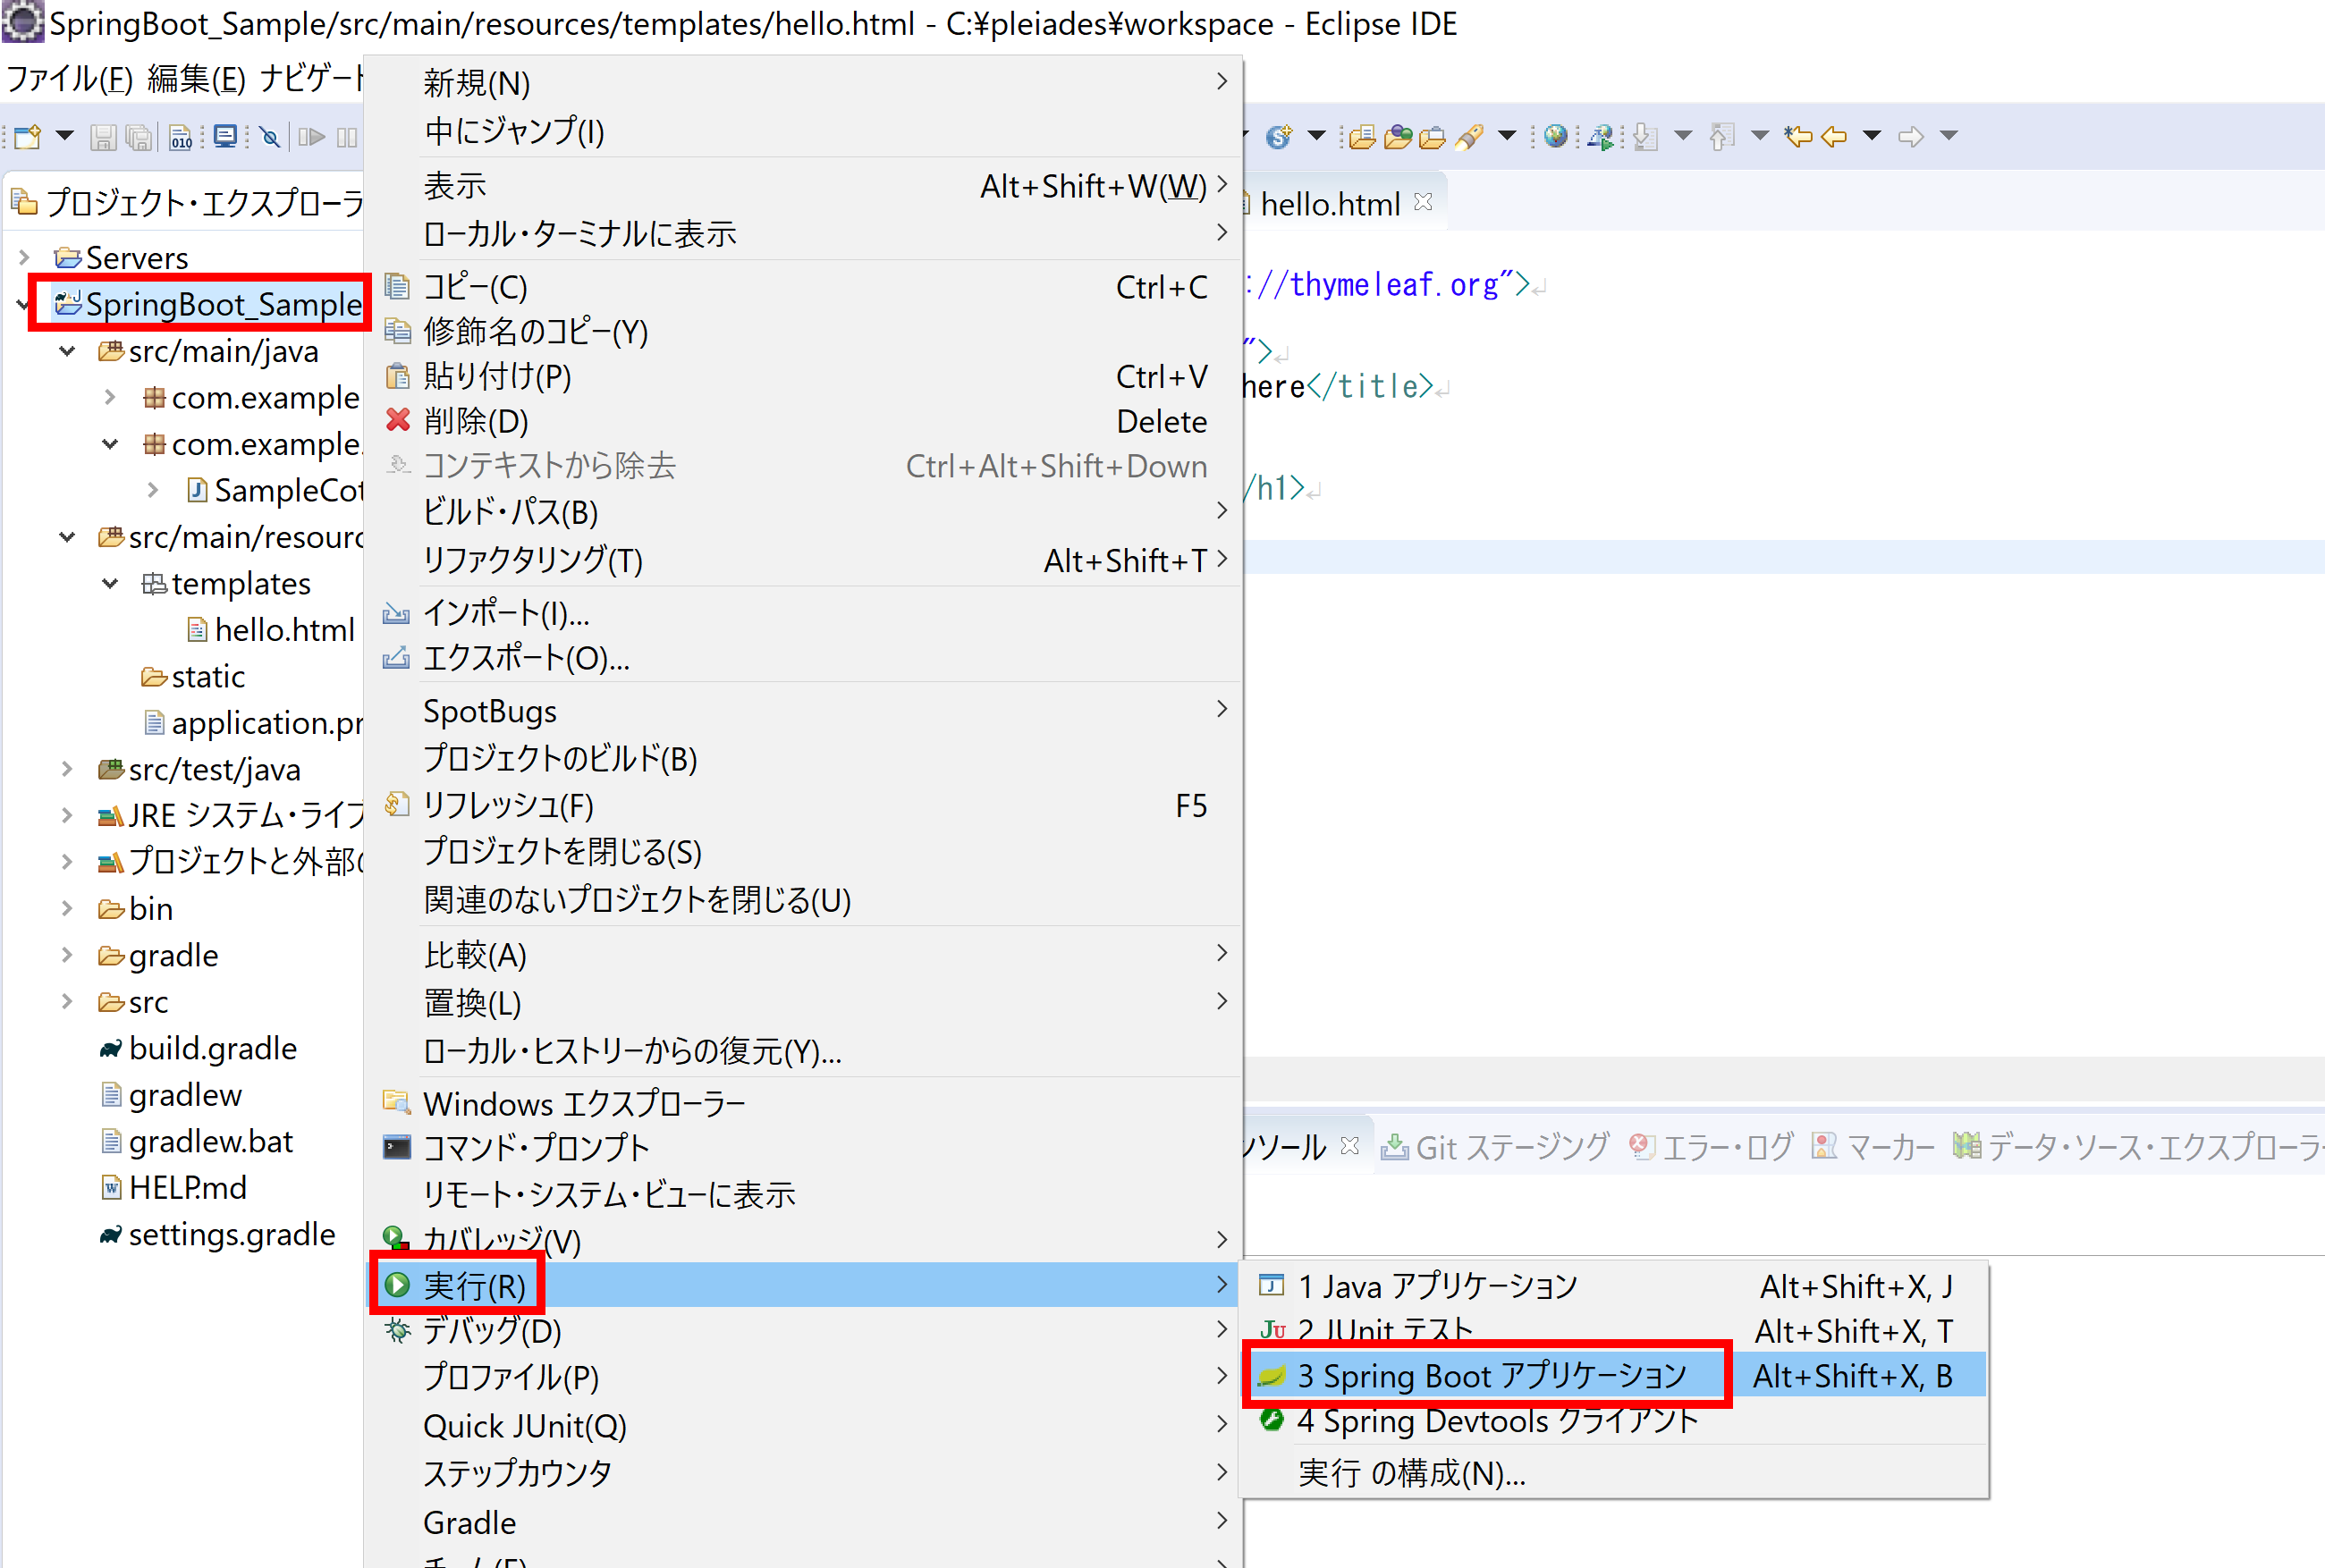
④「プロジェクト名を右クリック」⇒「実行」⇒「3 Spring Boot アプリケーション」を押下し、アプリケーションを起動
⑤ブラウザから「http://localhost:8080」でアクセスし、「Hello World」が表示されることを確認