SpringBoot入門 vol.10:顧客登録画面を作成しよう
①CUSTOMERテーブルを初期化
CUSTOMERテーブルを初期化(データ削除・オートインクリメントを1に戻す)をしておこう
■初期化
--データ削除
DELETE FROM CUSTOMER;
--オートインクリメント = 1
ALTER TABLE CUSTOMER AUTO_INCREMENT = 1;
②フォームクラスとなる「CustomerForm.java」を作成
格納ディレクトリ:src\main\java\com\example\web
フォームクラスは画面とコントローラークラスの間で値を渡す役割をする
※今回は@Entitiyを付けた「Customer.java」と同じフィールドを設定
package com.example.web;

import lombok.Data;

@Data
public class CustomerForm {
    private Integer id;
    private String name;
    private String email;
}
③コントローラークラス(CustomerController.java)を編集
package com.example.web;

import java.util.List;

import org.springframework.beans.factory.annotation.Autowired;
import org.springframework.stereotype.Controller;
import org.springframework.ui.Model;
import org.springframework.web.bind.annotation.GetMapping;
import org.springframework.web.bind.annotation.ModelAttribute;

import com.example.domain.Customer;
import com.example.service.CustomerService;

@Controller
public class CustomerController {
    @Autowired
    CustomerService customerService;

    @GetMapping
    String list(Model model) {
        List<Customer> customers = customerService.findAll();
        model.addAttribute("customers", customers);
        return "list";
    }

    //ポイント1
    @GetMapping("create")
    //ポイント2
    String create(@ModelAttribute CustomerForm customerForm) {
        return "create";
    }
}
【ポイント】
1.@GetMapping("create")
URLクエリーに「create」を設定したGETリクエスト
「顧客一覧画面(list.html)」にこの後作成する顧客登録画面への遷移リンクを押下した際に呼ばれるメソッドとなる
2.@ModelAttribute
このアノテーションでModelオブジェクトにセットし、画面とコントローラークラスの値のやりとりを行えるようにする
デフォルトでは型の最初の文字を小文字にした属性で登録される
model.addAttribute("customerFomr", customerFom)と同様の処理をする
※もし属性名を変更したい場合は引数に記述する
例)@ModelAttribute("hogehoge")
「return "create"」によってこの後作成する「顧客登録画面(create.html)」に遷移させる
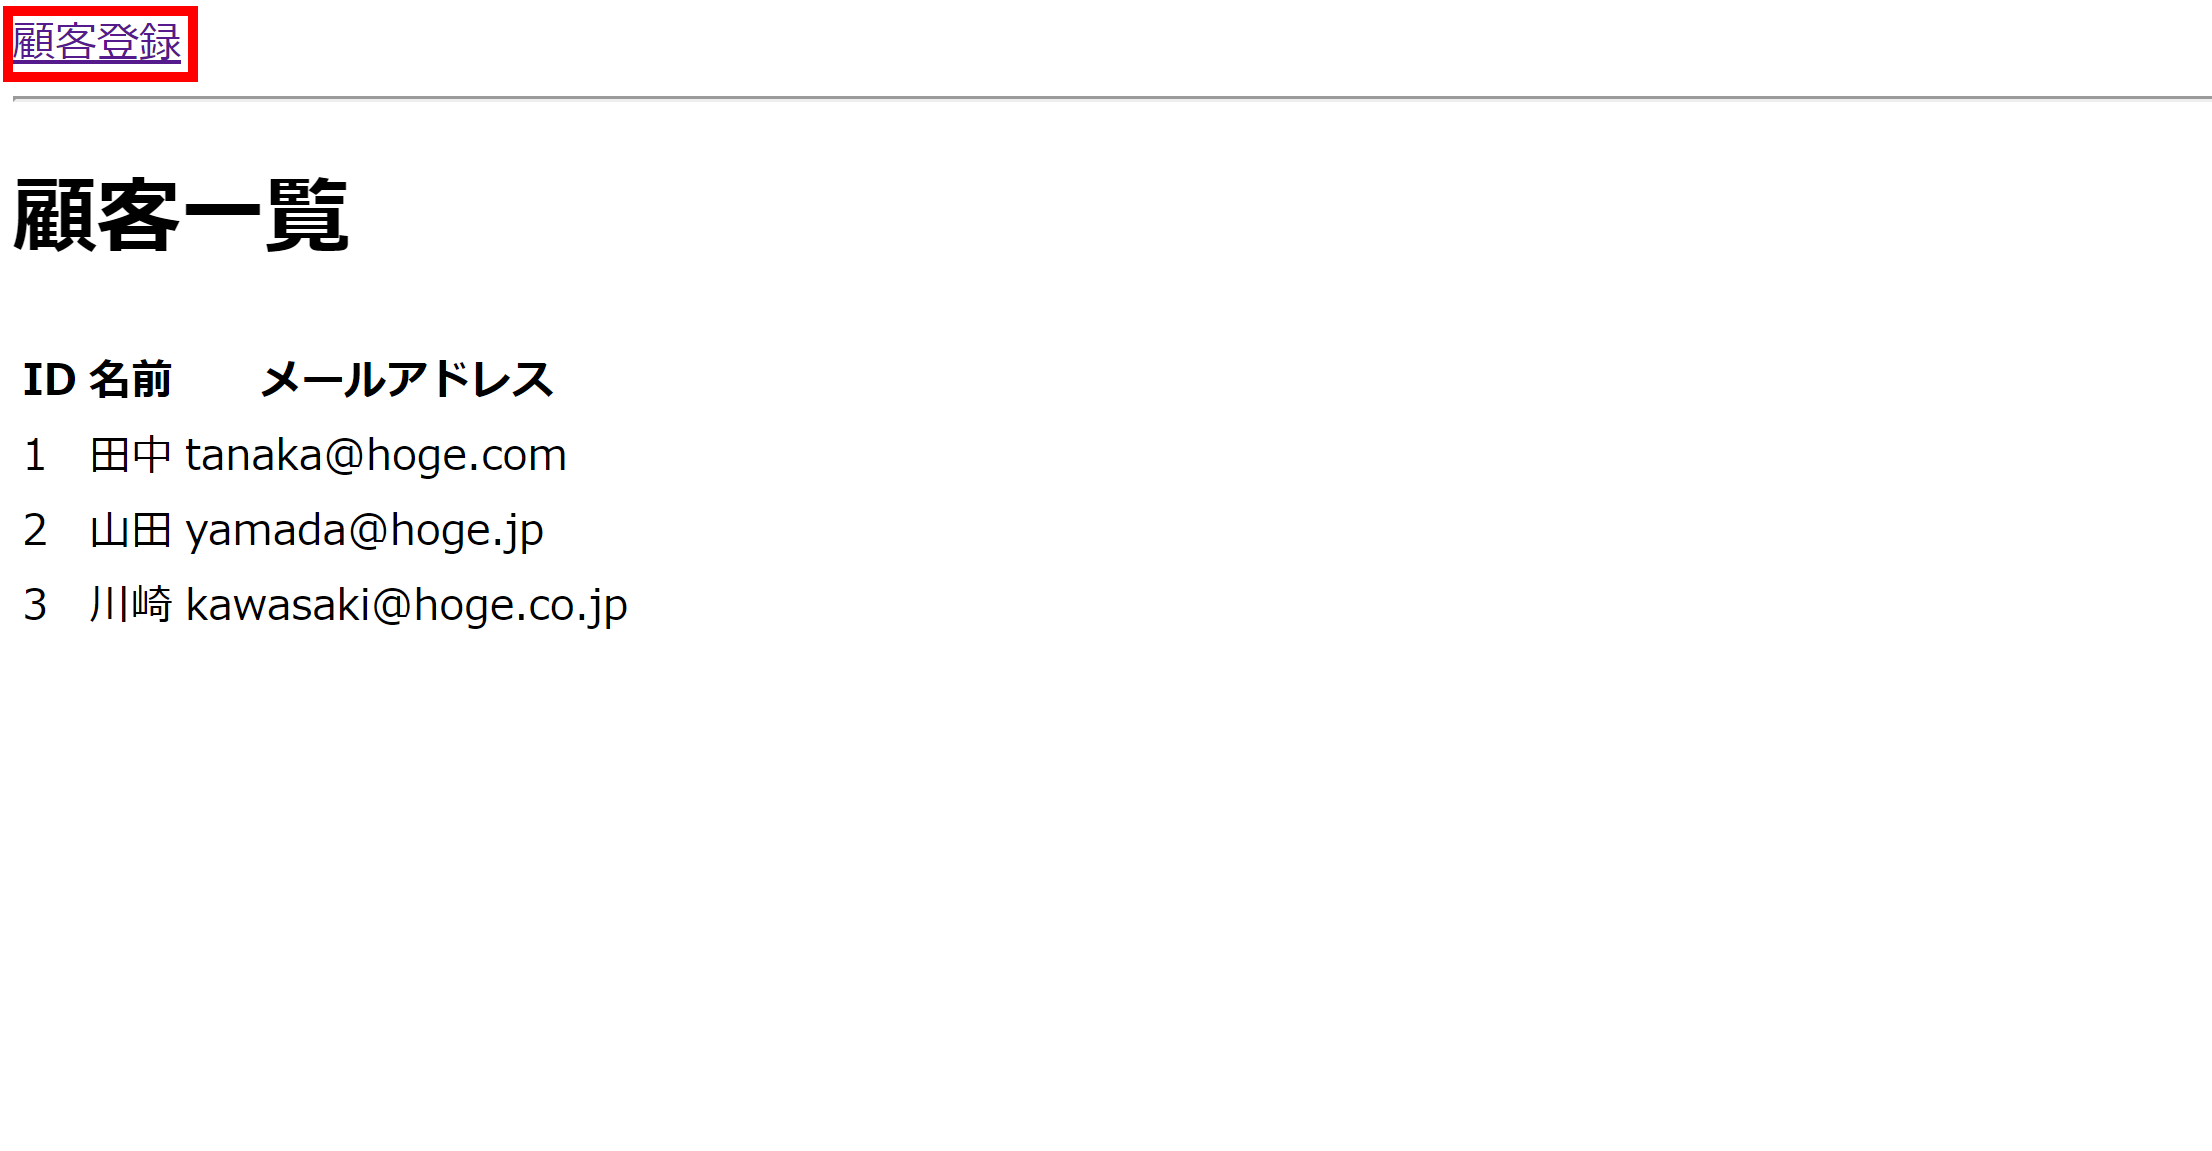
④顧客一覧画面(list.html)に顧客登録画面へのリンクを追加
<!DOCTYPE html>
<html xmlns:th="http://www.thymeleaf.org">
<head>
<meta charset="UTF-8">
<title>顧客一覧</title>
</head>
<body>
    <!-- ポイント1 -->
    <a th:href="@{/create}">顧客登録</a>
    <hr>
    <h1>顧客一覧</h1>
    <table>
        <tr>
            <th>ID</th>
            <th>名前</th>
            <th>メールアドレス</th>
            .
            .
            .
</body>
</html>
【ポイント】
1.「<a th:href="@{/create}">」
押下時に「crate.html」へGETリクエストするリンクを作成
「th:href="@{/〇〇}"」でコンテキストルートの相対パスを絶対パスに変換
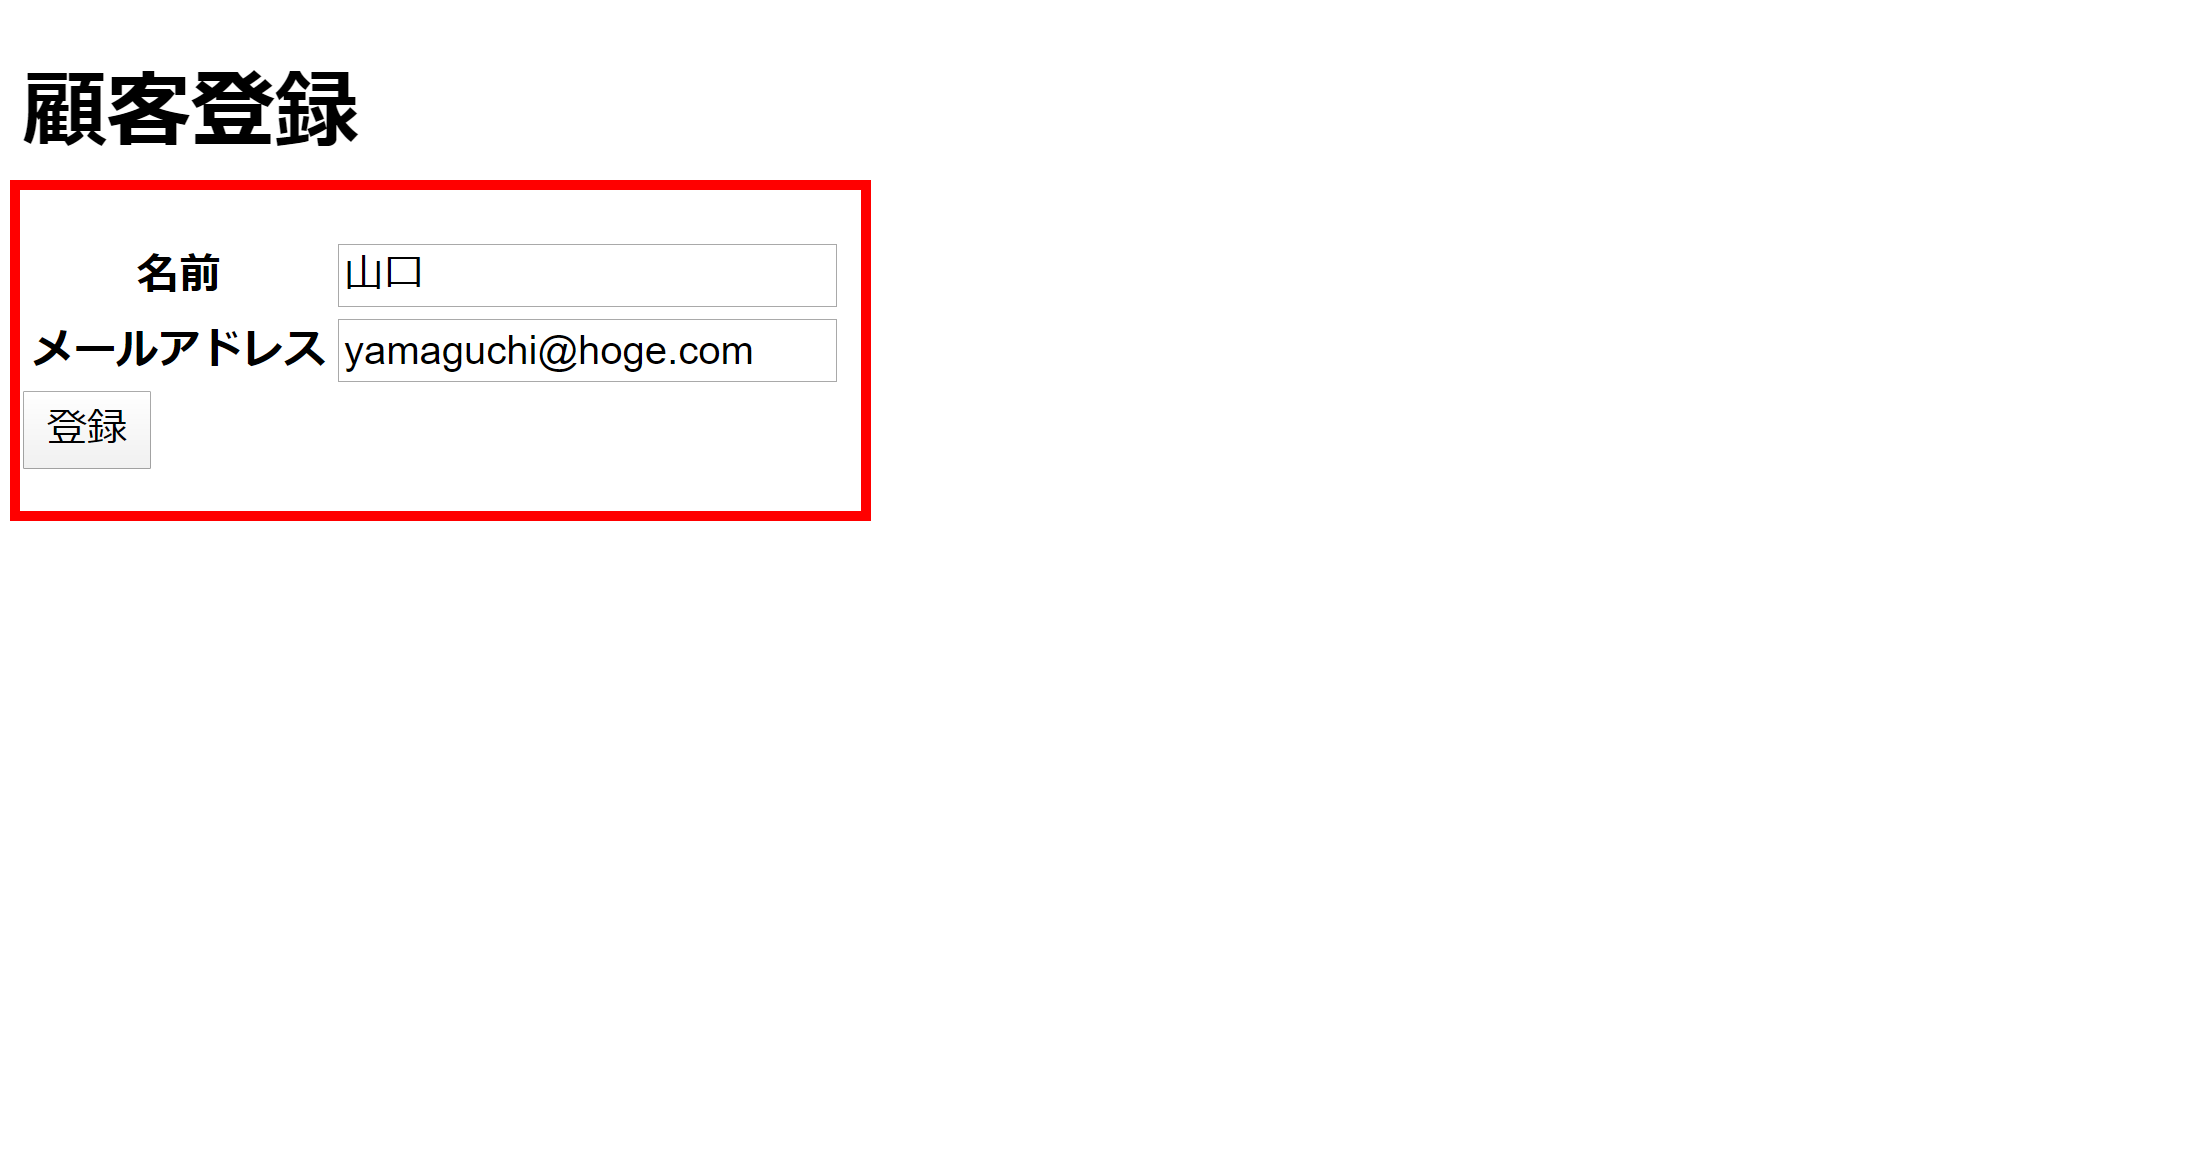
⑤顧客登録画面(create.html)の作成
格納ディレクトリ:src/main/resources/templates/create.html
<!DOCTYPE html>
<html xmlns:th="http://www.thymeleaf.org">
<head>
<meta charset="UTF-8">
<title>顧客登録</title>
</head>
<body>
    <h1>顧客登録</h1>
    <!-- ポイント1 -->
    <form th:action="@{/create}" th:object="${customerForm}" method="post">
        <table>
            <tr>
                <th>名前</th>
                <!-- ポイント2 -->
                <td><input type="text" name="name" th:field="*{name}"></td>
            </tr>
            <tr>
                <th>メールアドレス</th>
                <td><input type="text" name="email" th:field="*{email}"></td>
            </tr>
        </table>
        <input type="submit" value="登録">
    </form>
</body>
</html>
「ポイント」
1-1.th:action="@{/create}" method="post"
URLクエリーに「create」を設定したPOSTリクエスト
「th:href」同様、「th:action="@{/〇〇}"」でコンテキストルートの相対パスを絶対パスに変換
1-2.th:object="${customerForm}"
コントローラークラスの@ModelAttributeでModelオブジェクトにセットした「customerForm」を指定することにより「th:field」で使用できるようにする
2.th:field="*{フィールド名}"
「th:object」で受け取ったオブジェクトのフィールドを表示したり、コントローラークラスに値を渡すことができる
⑥顧客登録画面で入力した値をデータベースに登録
「CustomerController.java」を編集
package com.example.web;

import java.util.List;

import org.springframework.beans.BeanUtils;
import org.springframework.beans.factory.annotation.Autowired;
import org.springframework.stereotype.Controller;
import org.springframework.ui.Model;
import org.springframework.web.bind.annotation.GetMapping;
import org.springframework.web.bind.annotation.ModelAttribute;
import org.springframework.web.bind.annotation.PostMapping;

import com.example.domain.Customer;
import com.example.service.CustomerService;

@Controller
public class CustomerController {
            .
            .
            .

    @GetMapping("create")
    String create(@ModelAttribute CustomerForm customerForm) {
        return "create";
    }

    //ポイント1
    @PostMapping("create")
    String regist(@ModelAttribute CustomerForm customerForm) {
        Customer customer = new Customer();
        //ポイント2
        BeanUtils.copyProperties(customerForm, customer);

        //ポイント3
        customerService.insert(customer);

        //ポイント4
        return "redirect:/";
    }
}
【ポイント】
1.@PostMapping("create")
URLクエリーに「create」を設定したPOSTリクエスト
「顧客登録画面(create.html)」の登録ボタンを押下した際に呼ばれるメソッドとなる
2.BeanUtils.copyProperties(コピー元, コピー先);
「customerForm」の値を「customr」にコピー
つまり、
3.customerService.insert(customer)
Spring Boot入門 vol.9:データベース操作(登録・更新・削除・検索)のメソッドを追加しようでCustomerServiceクラスに登録したinsert()メソッドでデータベースに登録
4.return "redirect:遷移先パス"
顧客登録画面にリダイレクト
PRGパターンによりフォームデータの二重送信を防止を行う
リダイレクトせずに顧客登録画面に遷移した場合、ブラウザ再読み込みをすると再度POSTしてしまうので注意すること
※PRGパターンとは
「POST」⇒「REDIRECT」⇒「GET」処理によってフォームデータの二重送信を防止する手法
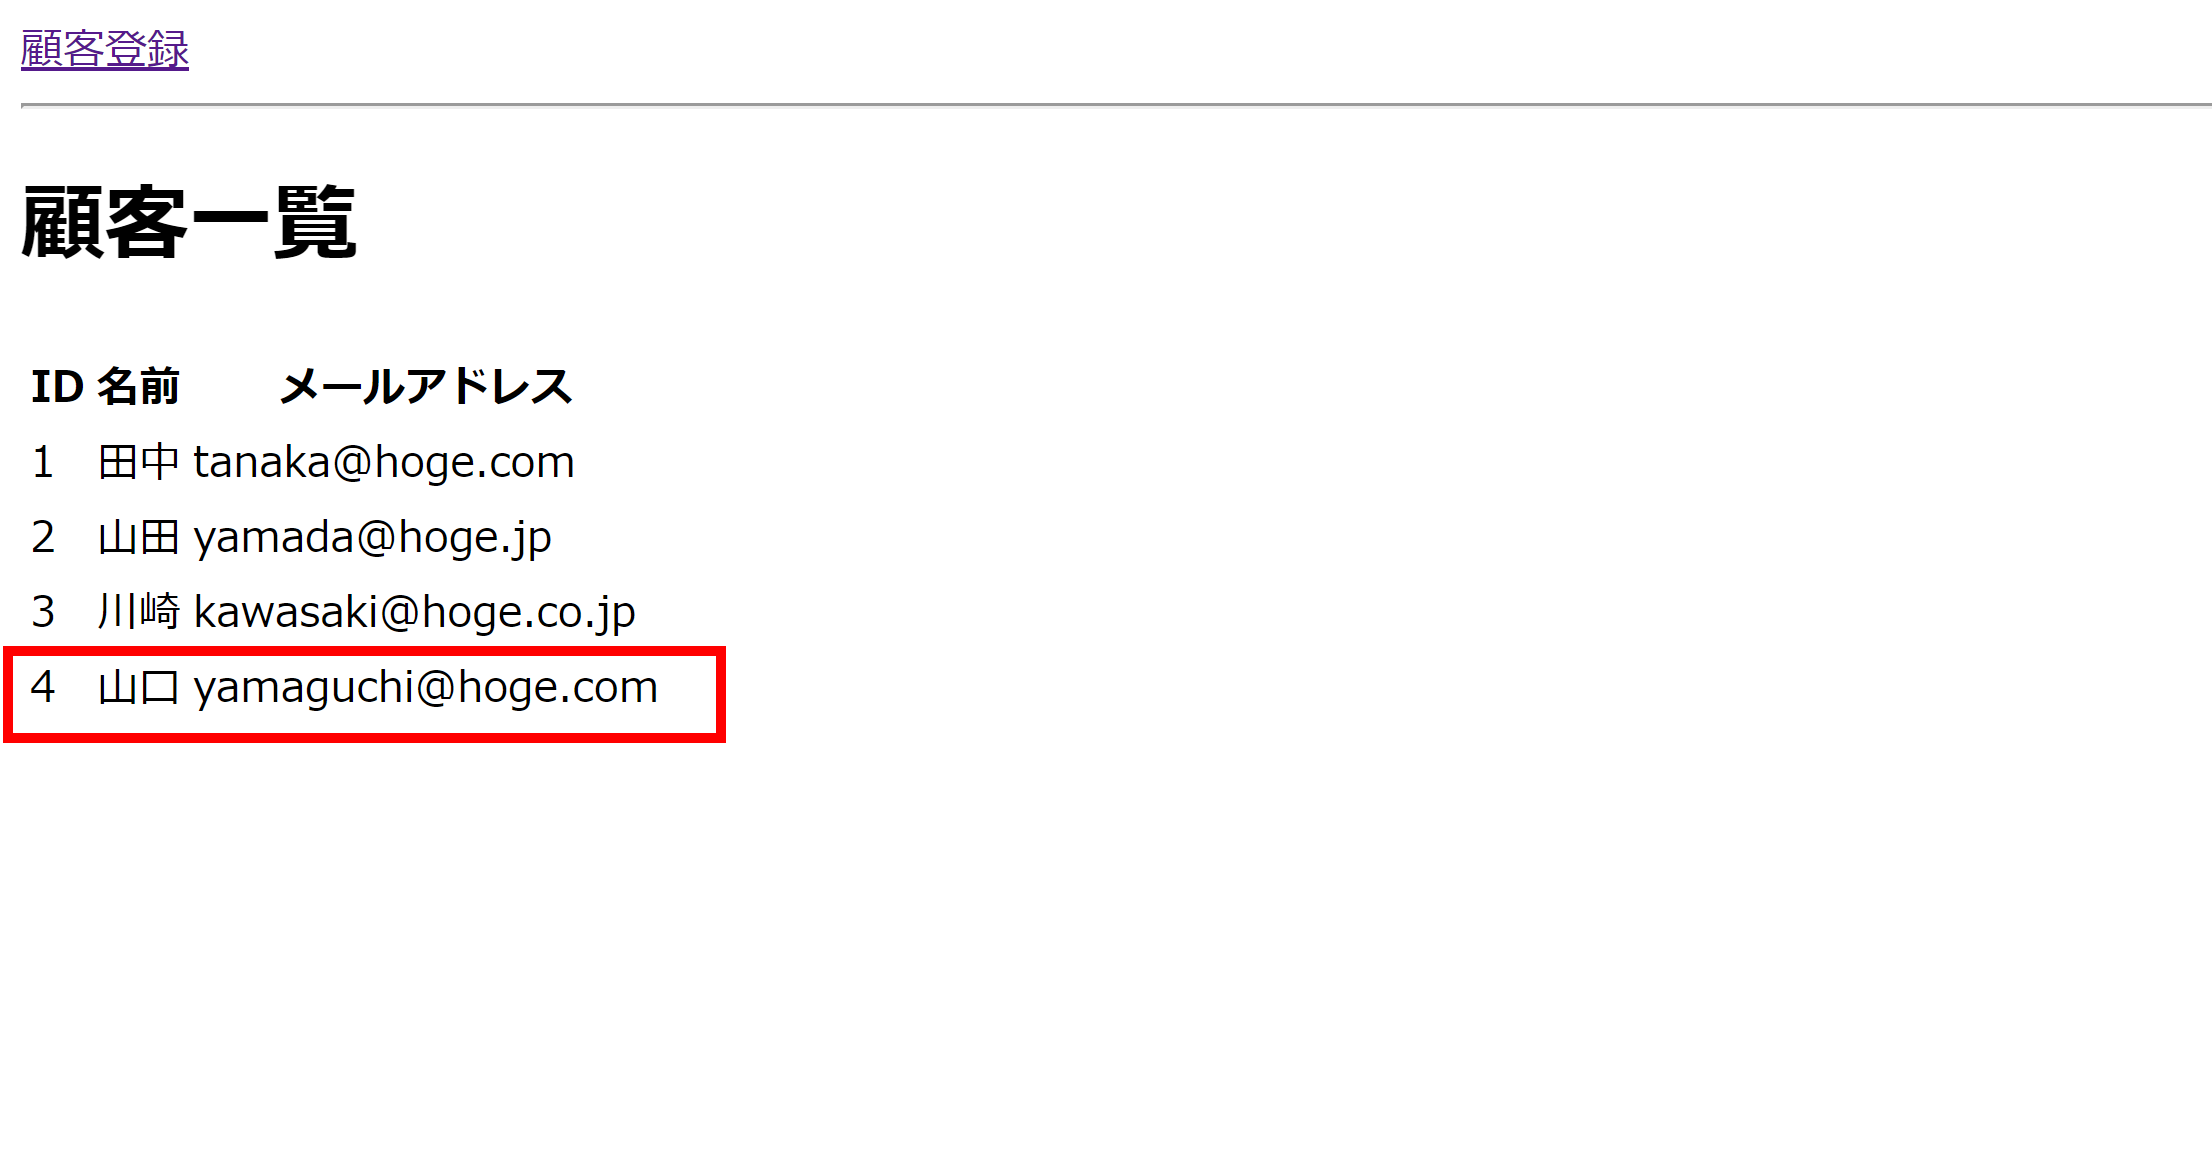
⑦顧客登録
「顧客登録」画面から登録して正しく動作していることを確認
アプリケーションを起動して「http://localhost:8080」にアクセスし、「顧客登録」を押下
名前、メールアドレスを入力して登録ボタンを押下
顧客一覧画面でデータが登録されていることを確認